Configuración
 Entrega rápida
 Tipos de pago


 Producto del mercado

Número de parte del fabricante 4559
PRE-CUT MULTI-COLORED HEAT SHRIN
Adafruit Industries LLC

Heatshrink Hand Tools Cutters / Strippers

Heat shrink tubing protects wire connections from electrical shorts and provides mechanical strain relief. It’s made from plastic polymers that contract when heated. The tubing starts out oversized so you can slide it over connectors or wire insulation, then when you apply heat, it shrinks down to grip tightly around whatever’s inside.
Products: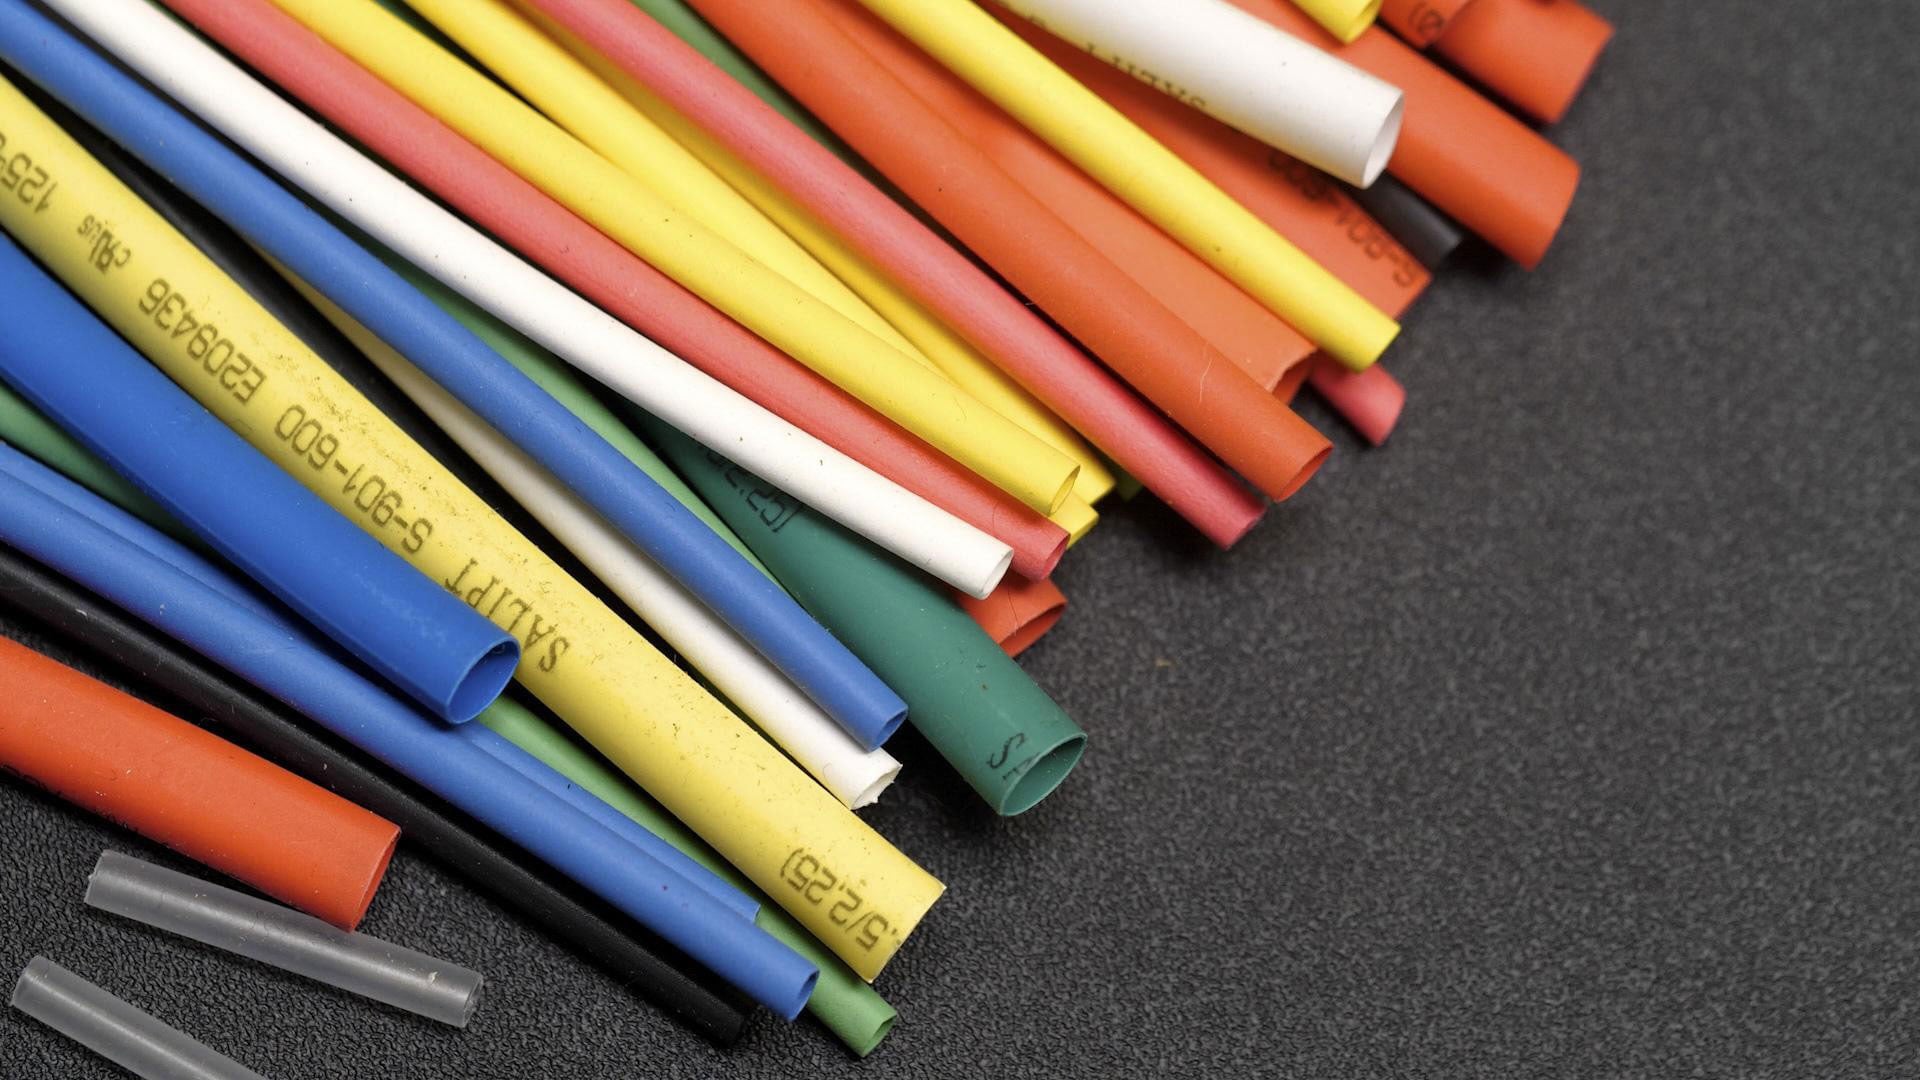
The most common type shrinks to half its original diameter, which is called a 2:1 shrink ratio, but you can also find 3:1 and even 4:1 ratios for covering larger, irregular shapes. The key to success is choosing tubing that’s big enough to fit over your connection in its relaxed state, but small enough to grip tightly when shrunk, also called ‘recovered’.
The sizing can be confusing because it’s usually listed by the diameter before shrinking. So, quarter-inch heat shrink will fit over a quarter-inch connector, but when heated, it’ll shrink down to one-eighth inch for a 2:1 ratio. Always measure the largest part of what you’re covering. That could be your solder joint or a connector body, not just the wire itself. And if it’s a bit too big, that’s alright; it will probably still work fine. But if it’s too small, you won’t be able to slide it on at all.
Standard polyolefin heat shrink is perfect for most electronics work. It’s available in lots of colors, which is helpful for identifying wires. But it’s also available in a wide variety of shrink temperatures, with somewhere around 100 degrees Celsius being the most common. Anything far outside this range is probably a different material, like PVC, which shrinks at a lower temperature, and silicone, which shrinks at a higher temperature.
For outdoor applications, look for dual-wall heat shrink with adhesive lining. When heated, the outer wall shrinks while the inner adhesive melts and seals around your connection, creating a waterproof seal with sturdy strain relief.
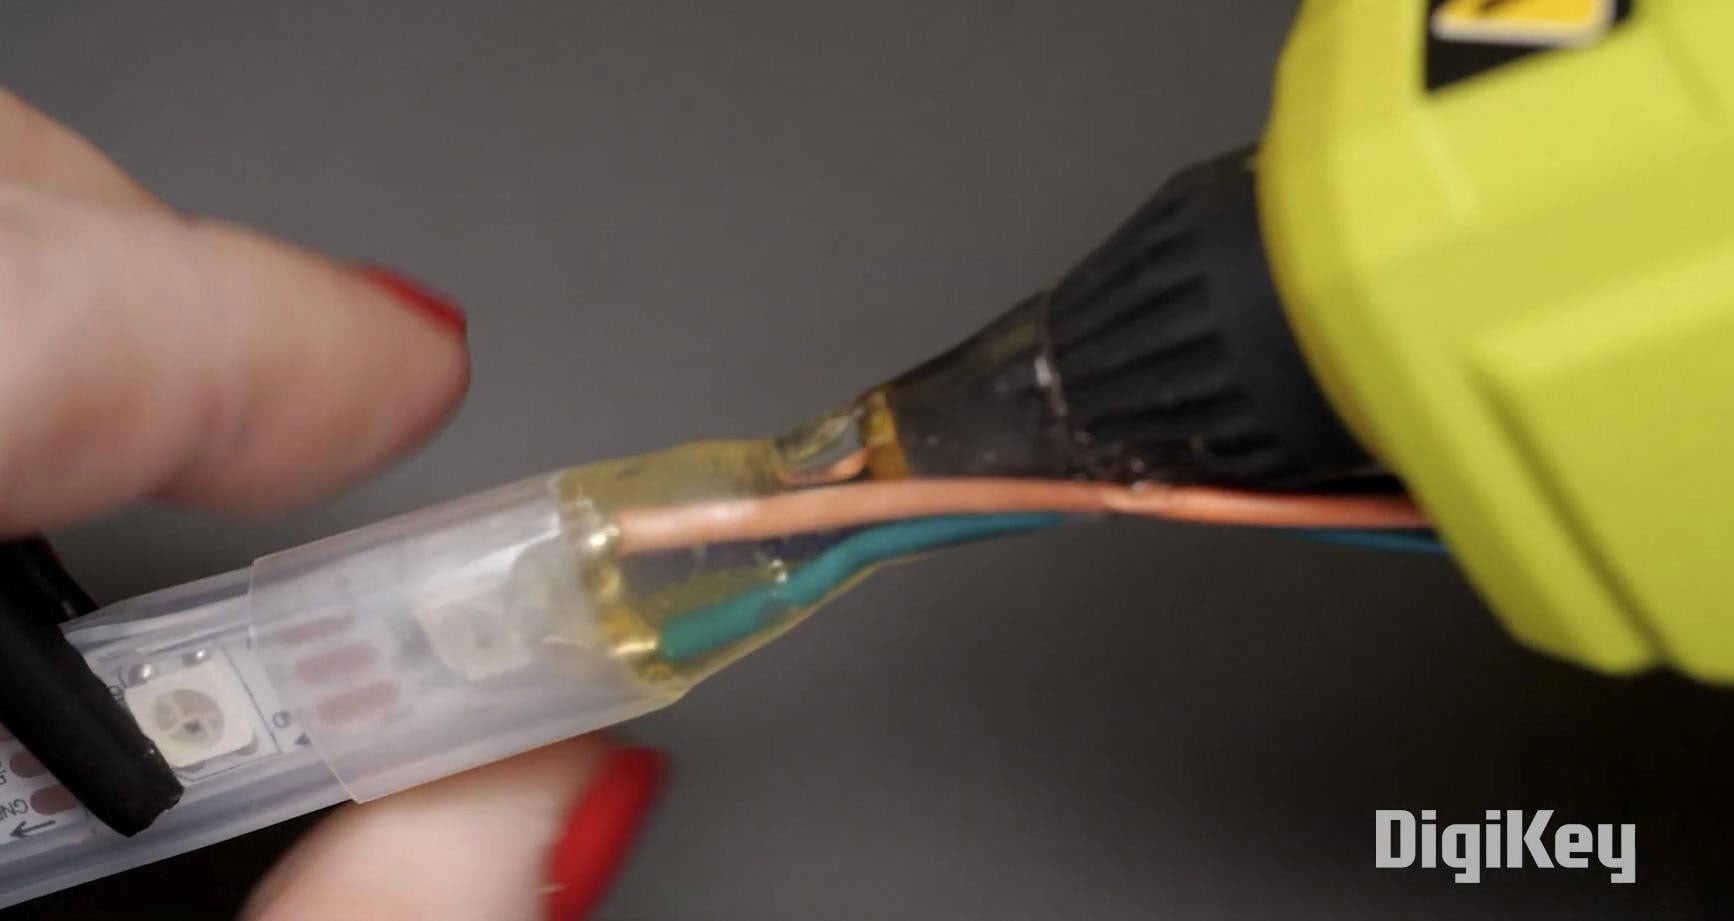
Sometimes I’ll make my own adhesive-lined heat shrink by squirting some hot glue into the tube with the wires. The glue is stiffer than the heat shrink, so it adds additional strain relief to protect against bending and pulling, like in wearable projects.
Remember: You have to put the heat shrink tubing on before soldering. If you forget, just think of it as bonus soldering practice as you undo, apply heat shrink, and redo the solder joint.
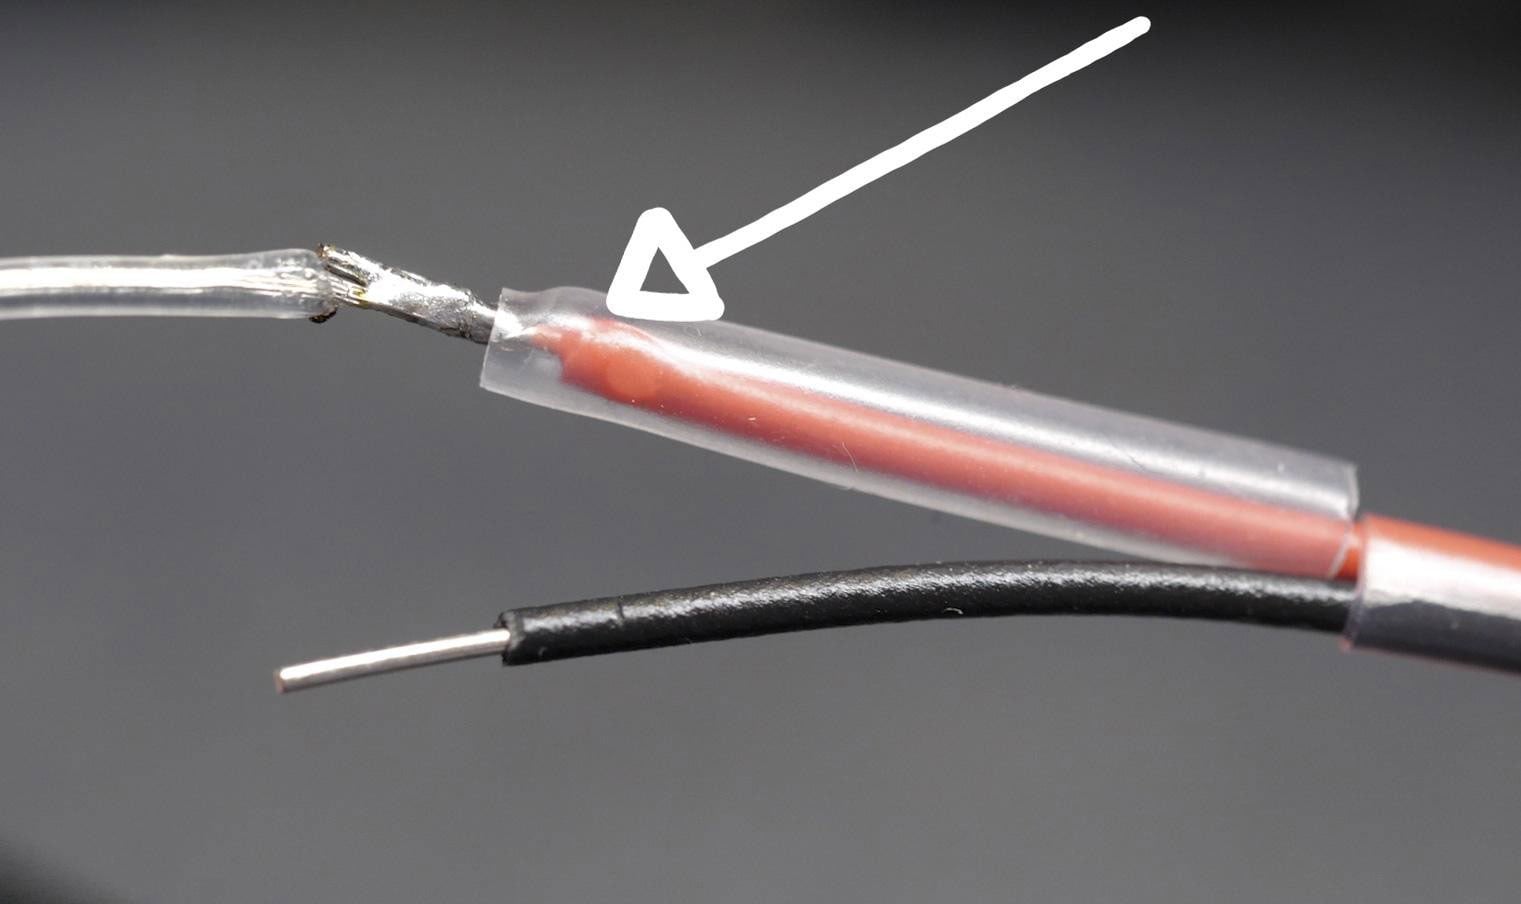
But don’t keep it too close to the joint, or the heat radiating off the wire and soldering iron will shrink it prematurely.

I’m going on the record to tell you to use a proper heat gun to shrink your heat shrink tubing, which gives you controlled, even heat. Although a lighter will work in a pinch, and so will the side of your soldering iron, these methods create uneven heating that could damage the tubing or what’s underneath. They’re great for making engineers cringe, though. I’m guilty. Usually, for a good reason, though, like being away from AC power, working on a vehicle. A hair dryer works second best to a heat gun, but it moves a lot more air, which diffuses the heat more chaotically, and doesn’t get hot enough for high-temp tubing.
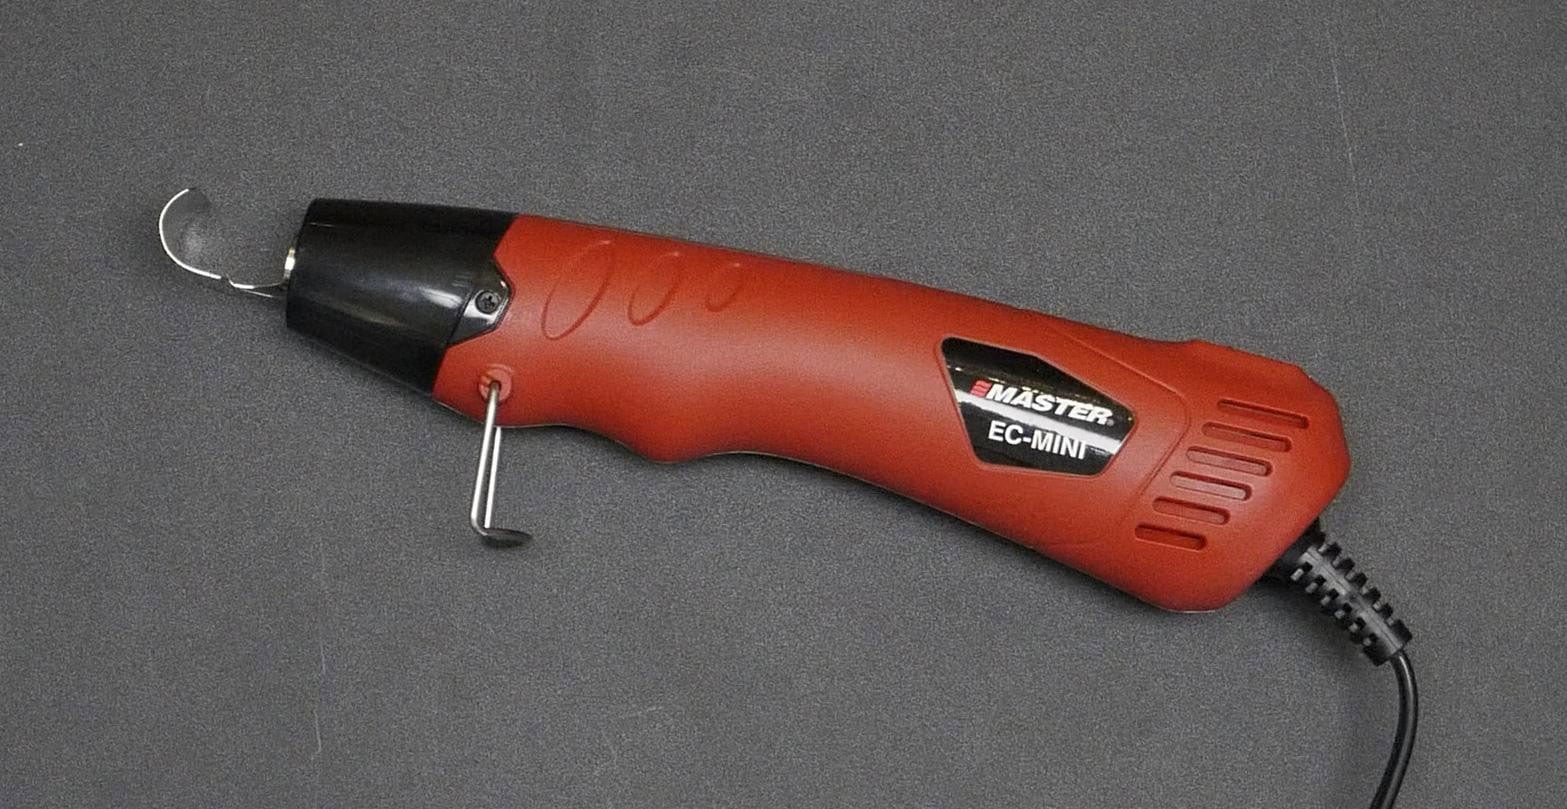
Keep the heat gun moving and use a heat-shrink attachment if you’ve got one. Work the heat around the tubing evenly. The plastic should shrink smoothly and conform to the shape underneath, without any charring or bubbling.
For dual-wall tubing, you’ll see a bit of adhesive squeeze out when it’s properly heated and sealed. That’s normal and shows you’ve got a good waterproof connection.
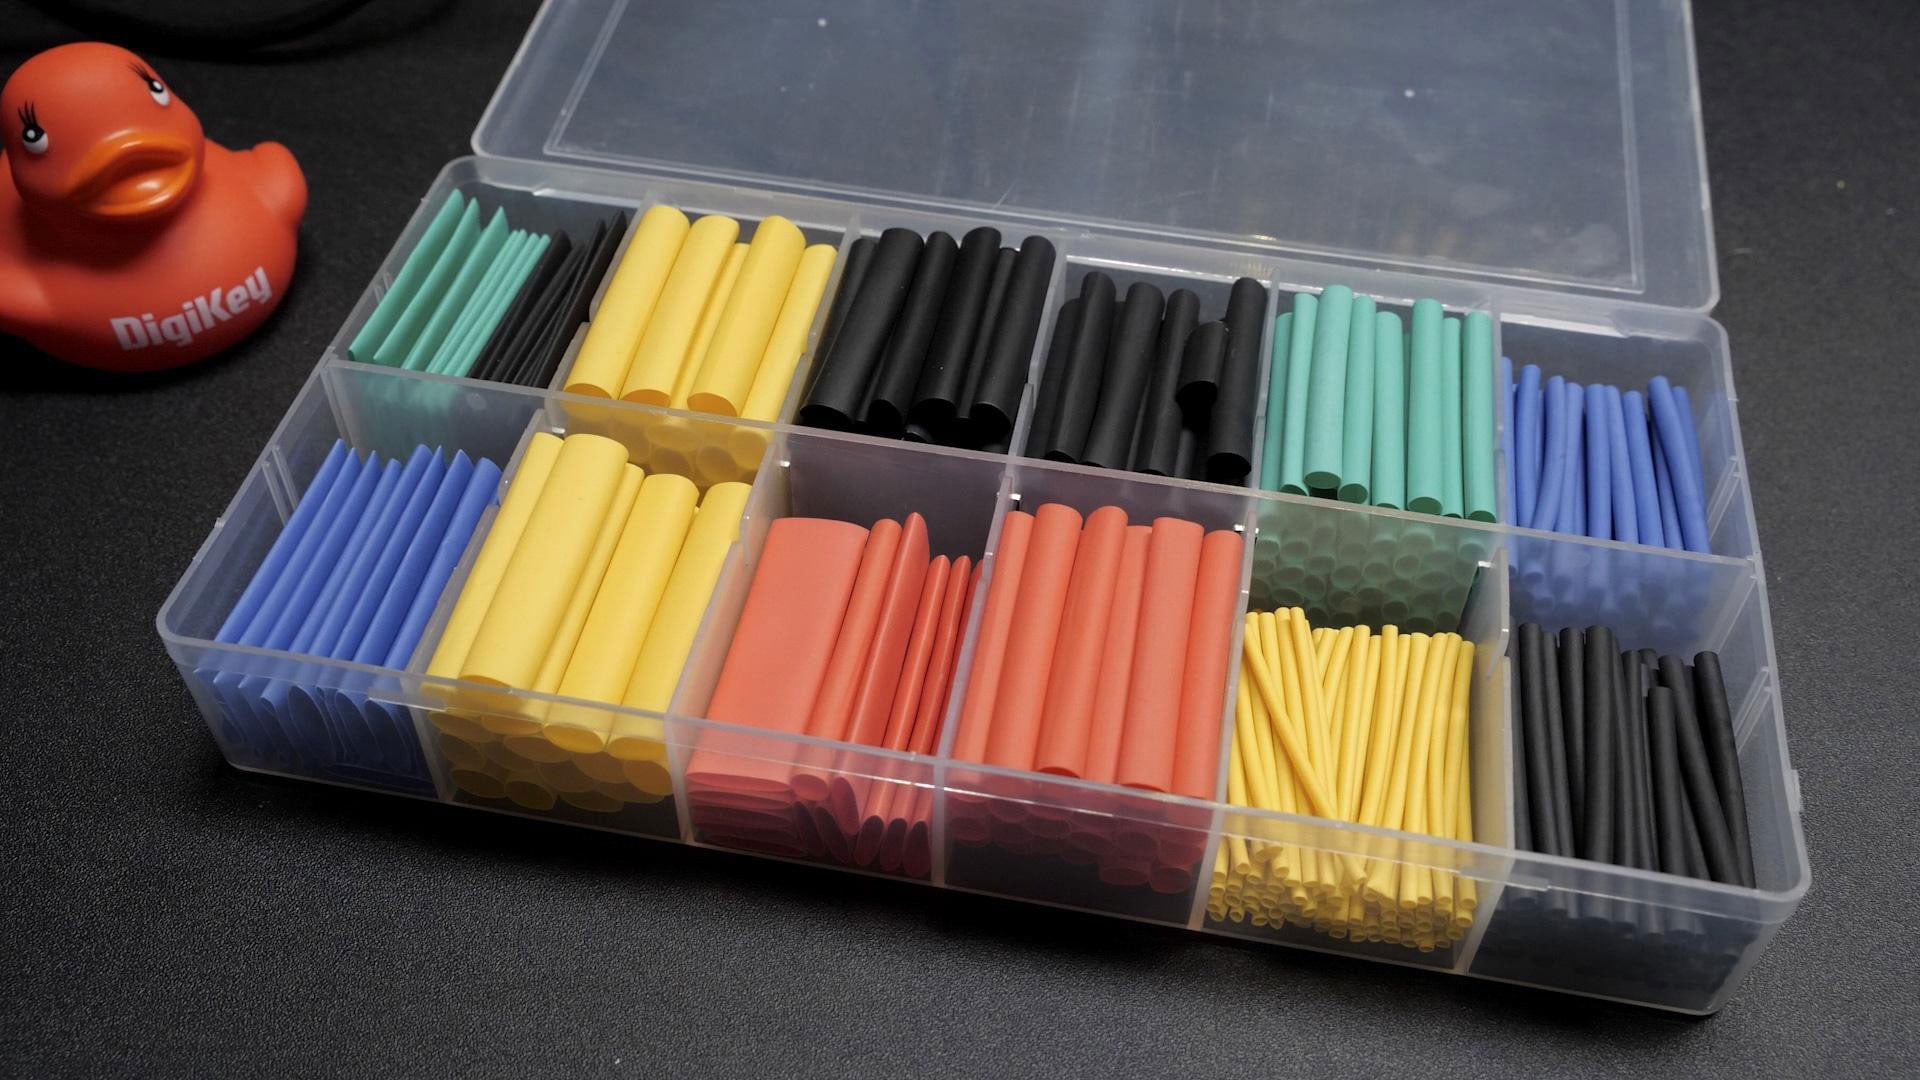
On DigiKey, you can filter heat shrink tubing by diameter, shrink ratio, and material type. Pay attention to the length, too. It often comes in specific cut lengths or as a continuous spool. A variety pack with different sizes is usually best to get started. Eventually, I find I use up the smaller diameters faster, so then I pick up just the smaller sizes to refill my kit.
There are also specialized shapes, like boot tubing for connectors that are much bigger than their wires.
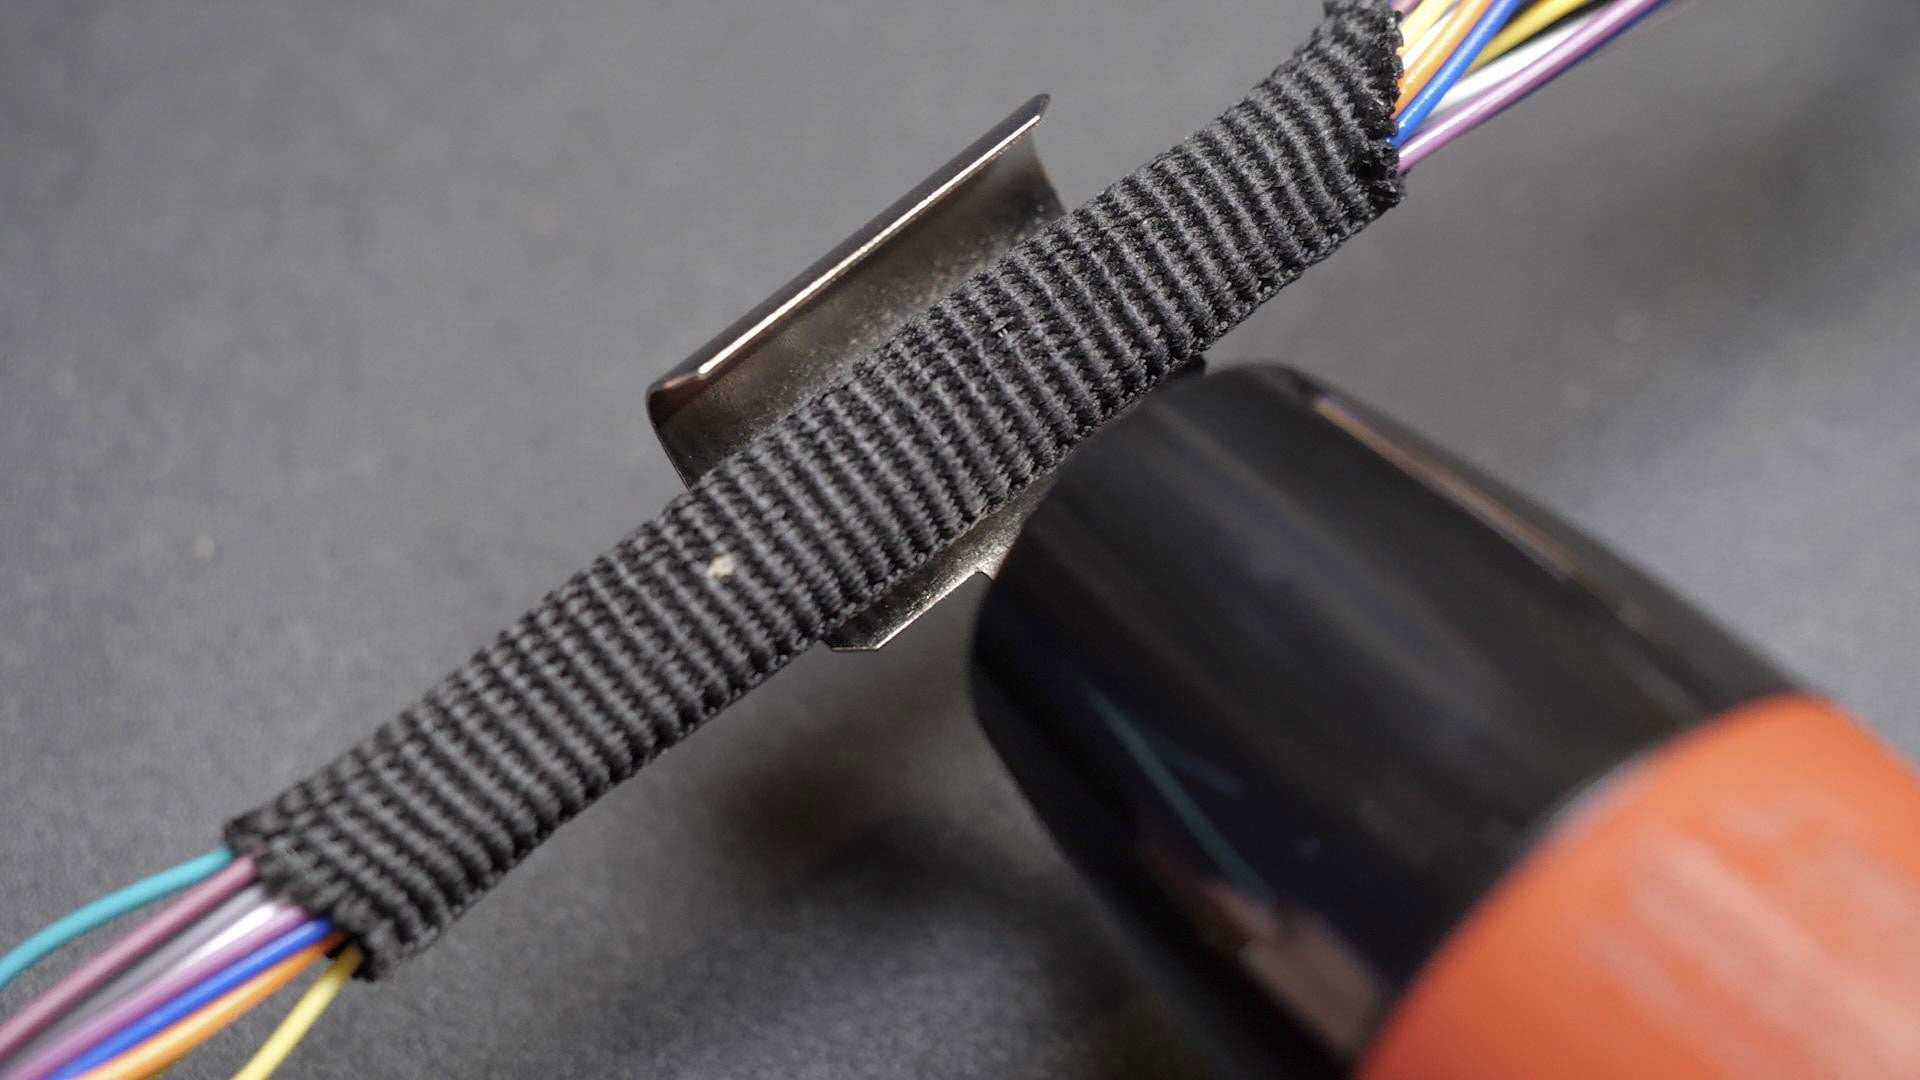
There is also heat shrink fabric tubing, which is great for organizing wire bundles, especially if they need to flex during use.
Image of Heat Shrink Basics
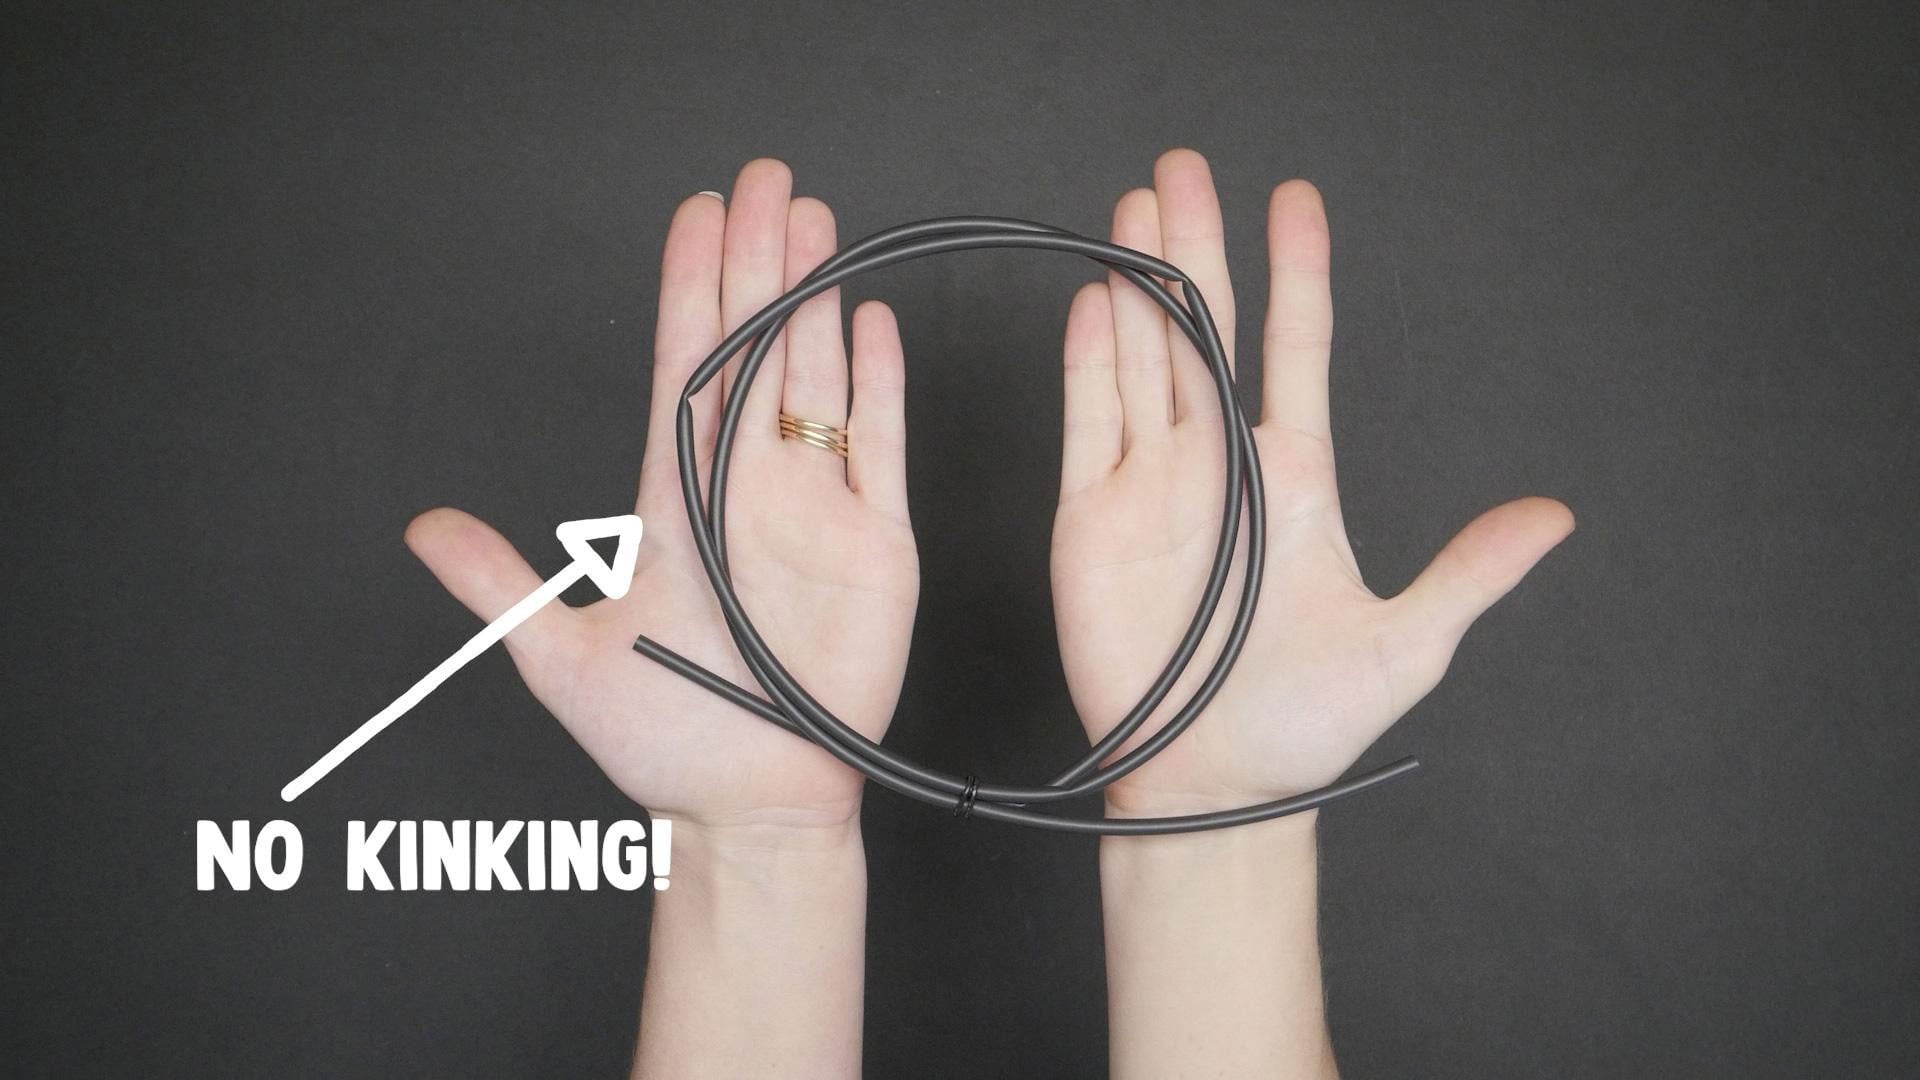
Some specialty heat shrink can’t be creased or folded before use. The polymer structure is designed to shrink uniformly, and kinking it can create weak spots or uneven shrinking. Always store it straight or in loose coils. And pay attention to the shelf life, too, which can vary.
I mainly use heat shrink tubing to protect solder joints. It provides both electrical insulation and mechanical strain relief. You can also use heat shrink tubing in different colors to identify different wires in your circuit. It’s cleaner-looking than electrical tape. For connectors that don’t already have their own boots or strain relief, heat shrink tubing can provide that protection and make unplugging easier by giving you something to grip.
Heat shrink tubing is so great, right? I hope I’ve convinced you to like it as much as I do.